คลังความรู้
COLO.in.th > คลังความรู้ > Zabbix > Install Zabbix 3.2.x For CentOS 7
Install Zabbix 3.2.x For CentOS 7
วิธีการติดตั้ง Zabbix เวอร์ชั่น 3.2.x สำหรับ CentOS 7
Install Apache, MySQL and PHP# yum -y update # yum -y install httpd httpd-devel # yum -y install mariadb-server mariadb # yum -y install php php-cli php-common php-devel php-pear php-gd php-mbstring php-mysql php-xml
Start Services Apache, MySQL#systemctl start httpd #systemctl start mariadb.service #systemctl enable mariadb.service
Set the password for the root user (123456 เปลี่ยนเป็นรหัสที่ต้องการ)#mysqladmin -u root password 123456
Installing repository configuration package#rpm -ivh http://repo.zabbix.com/zabbix/3.2/rhel/7/x86_64/zabbix-release-3.2-1.el7.noarch.rpm
ติดตั้งแพคเกจ Zabbix#yum install -y zabbix-server-mysql zabbix-web-mysql zabbix-agent zabbix-java-gateway
Create Zabbix MySQL Database (zabbix123456 = คือรหัสเข้าฐานข้อมูลสามารถเปลี่ยนได้ตามต้องการ)#mysql -u root -p mysql> CREATE DATABASE zabbixdb CHARACTER SET UTF8; mysql> GRANT ALL PRIVILEGES on zabbixdb.* to zabbix@localhost IDENTIFIED BY 'zabbix123456'; mysql> FLUSH PRIVILEGES; mysql> quit
Edit the main Zabbix server configuration file. /etc/zabbix/zabbix_server.confDBName=zabbixdb DBUser=zabbix DBPassword=Your.Password.Here
การสร้างฐานข้อมูลเบื้องต้น#cd /usr/share/doc/zabbix-server-mysql-3.2.3 #zcat create.sql.gz | mysql -u zabbix -p zabbixdb
เริ่มการทำงาน Zabbix server process. Start/Restart the service in Systemd Systemesystemctl start zabbix-server.service systemctl start zabbix-agent.service systemctl restart httpd.service systemctl restart mariadb.service systemctl enable zabbix-server.service systemctl enable zabbix-agent.service
แก้ไข PHP configuration for Zabbix located in /etc/httpd/conf.d/zabbix.confphp_value max_execution_time 300 php_value memory_limit 128M php_value post_max_size 16M php_value upload_max_filesize 2M php_value max_input_time 300 php_value date.timezone Asia/Bangkok
Restart the apache web server.#systemctl restart httpd
Start Zabbix Web Installerhttp://localhost/zabbix/ http://127.0.0.1/zabbix/ http://domainname.com/zabbix/
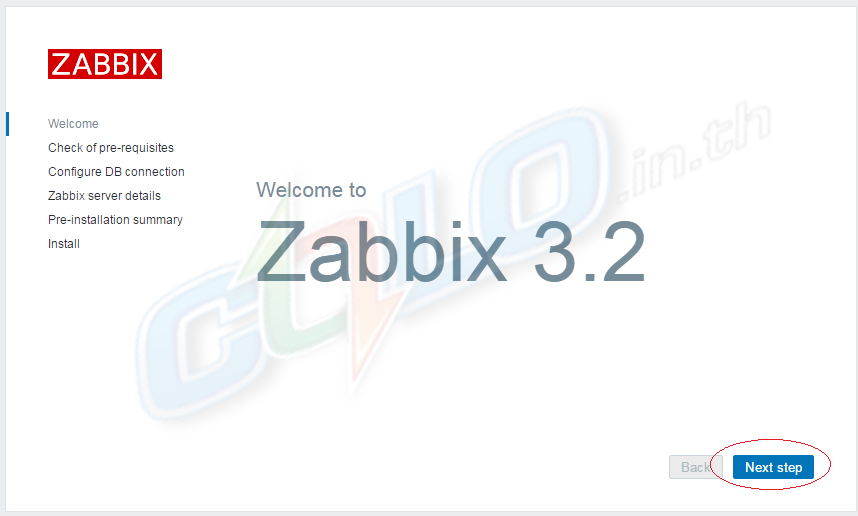
Zabbix Setup Welcome Screen http://domainname.com/zabbix/
หน้าต้อนรับการติดตั้ง Zabbix คลิกปุ่ม Next.
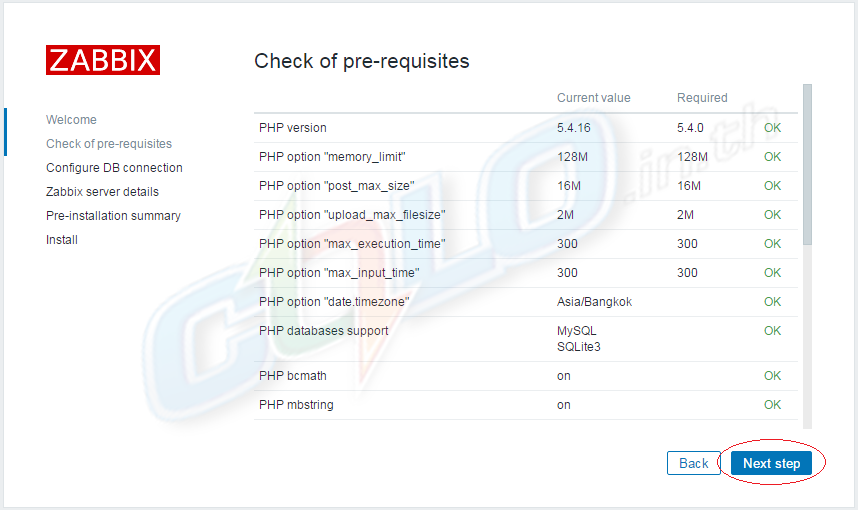
ตรวจสอบ packages ที่จำเป็น คลิกปุ่ม Next.
กรอกรายละเอียดฐานข้อมูล ชื่อ Database zabbixdb , User zabbix , Password zabbix123456
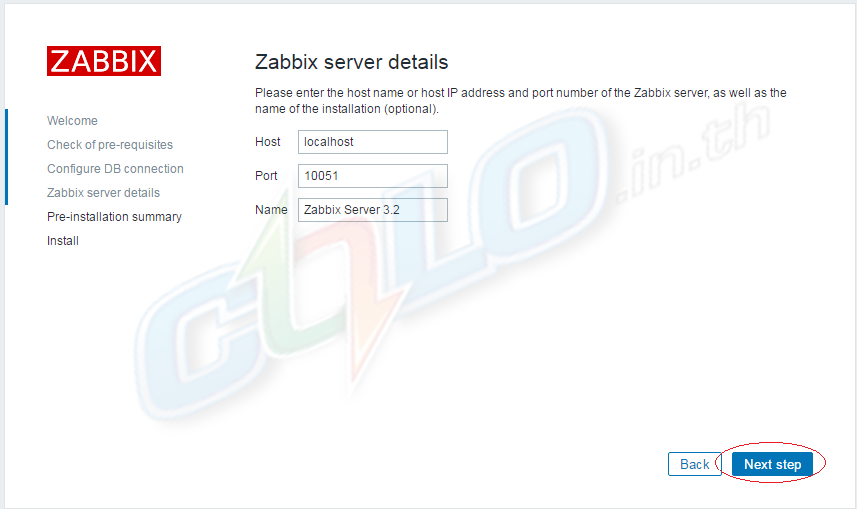
กรอกรายละเอียด Zabbix Server Details
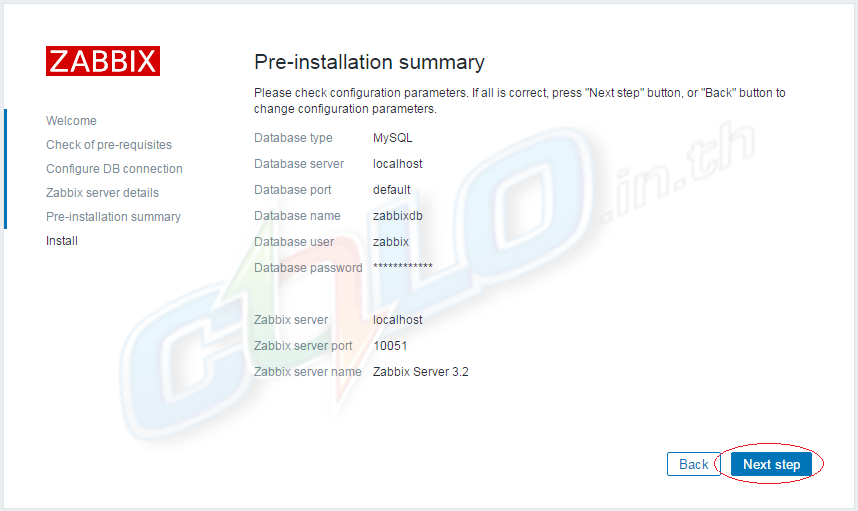
สรุปข้อมูลทีได้ป้อนไปก่อนหน้านี้ คลิก Next.
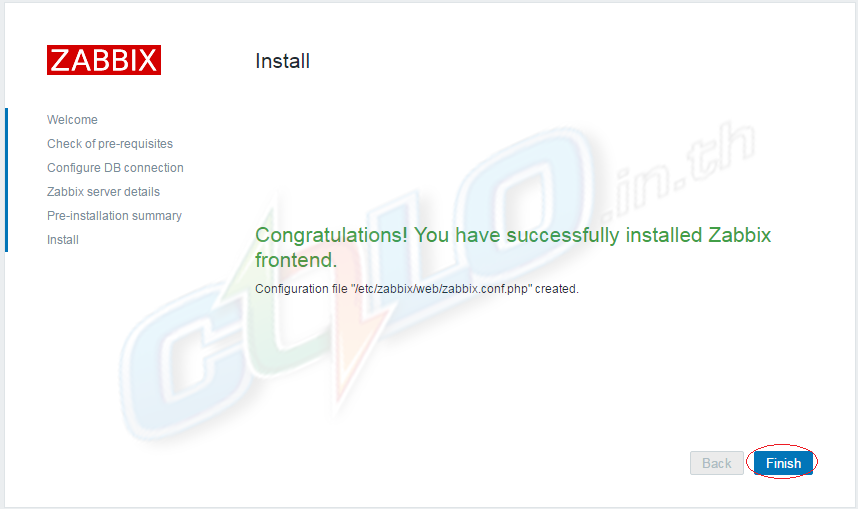
Install Zabbix คลิก Finish.
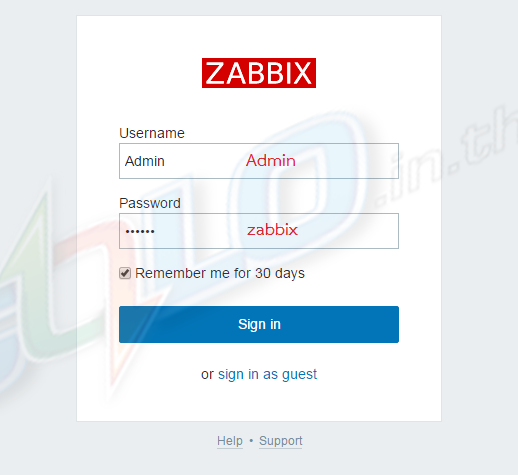
เข้าสู่ระบบเพื่อใช้ Zabbix.
Zabbix Default Username and Password
Username: Admin
Password: zabbix
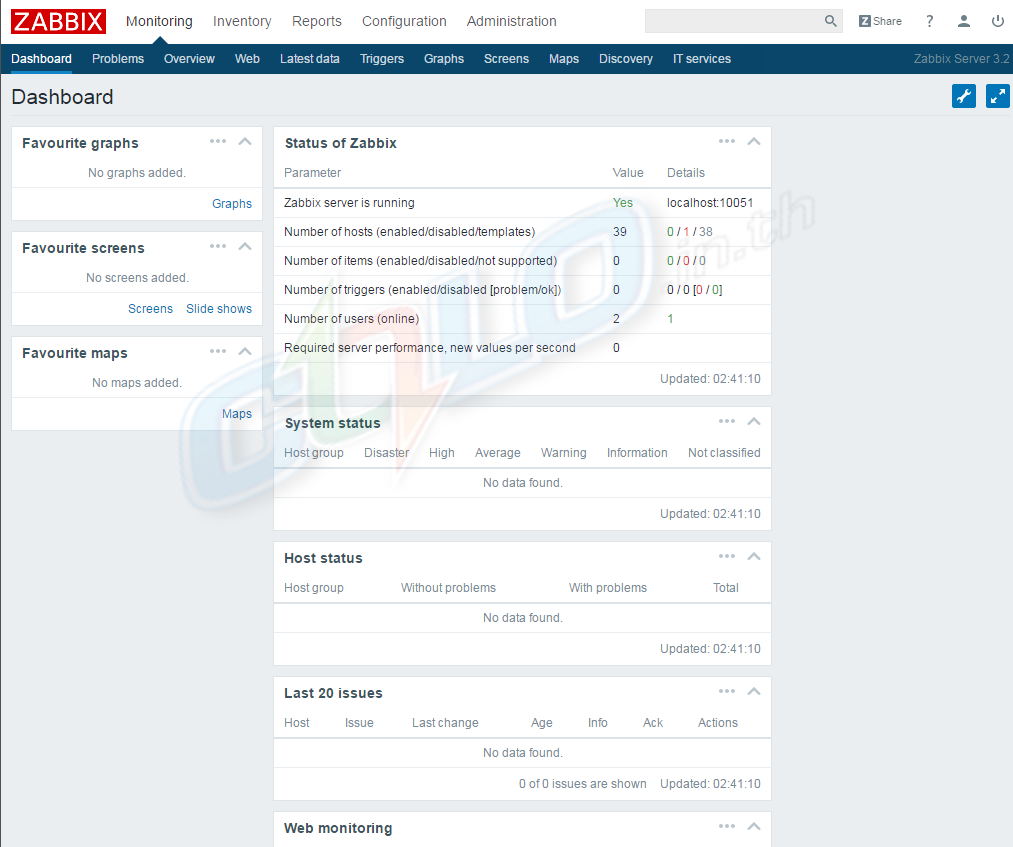
หลังจากเข้าสู่ระบบสำเร็จคุณจะได้รับแดชบอร์ด Zabbix เช่นนี้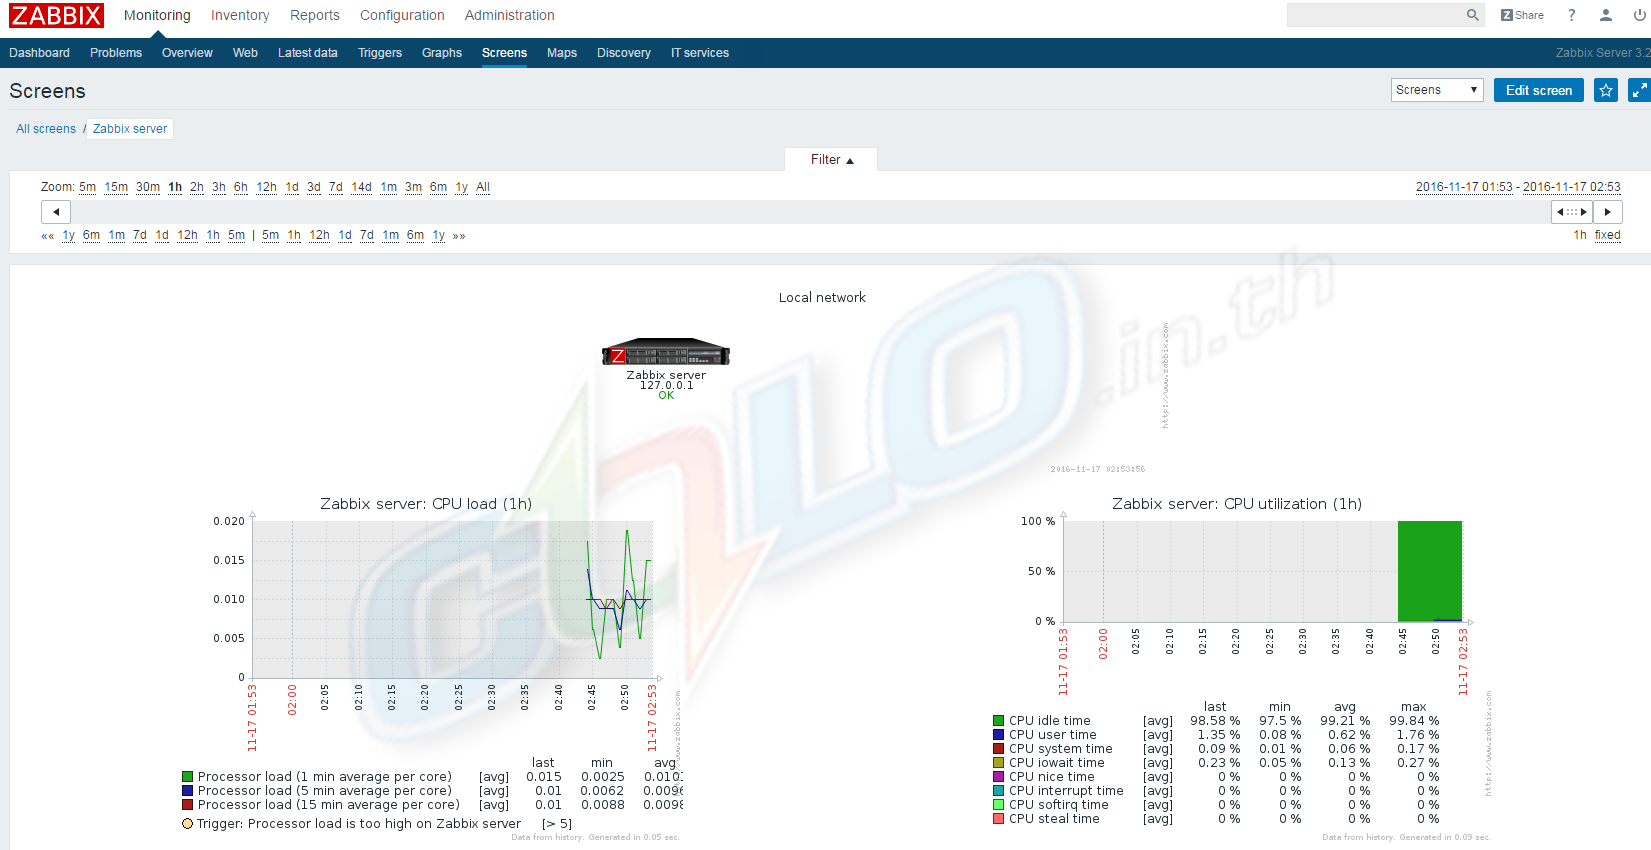

 บันทึกสู่รายการโปรดของฉัน
  พิมพ์หัวข้อนี้
Also Read

Powered by WHMCompleteSolution